When working with metal, plastic, or wood, the finishing process is just as important as cutting or shaping. One essential finishing step is deburring. Whether you’re a machinist, DIY enthusiast, or manufacturer, understanding deburring can improve safety, product quality, and overall performance.
In this blog, we’ll explain what deburring is, why it matters, and how to use a deburring tool correctly.
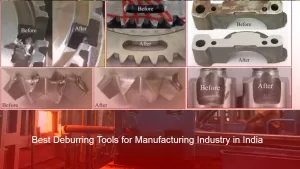
What Is Deburring?
Deburring is the process of removing burrs—small, rough edges or raised pieces of material left behind after cutting, drilling, milling, or machining.
- Burrs often occur when material is:
- Cut with saws or shears
- Drilled or punched
- Milled or turned on a lathe
- Laser or plasma cut
These sharp edges may look minor, but they can cause serious problems if left untreated.
Why Is Deburring Important?
Deburring is critical for several reasons:
1. Improves Safety
Sharp burrs can cause cuts and injuries during handling or assembly.
2. Enhances Product Quality
Deburred parts look cleaner, more professional, and function better.
3. Ensures Proper Fit
Burrs can interfere with tight tolerances and prevent parts from fitting together correctly.
4. Prevents Equipment Damage
Loose burrs can break off and damage machinery or tools.
5. Increases Durability
Removing burrs reduces stress points that may lead to cracks or premature failure.
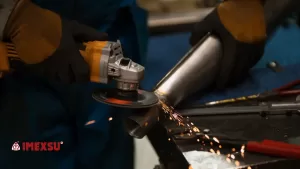
What Is a Deburring Tool?
A deburring tool is a handheld or powered tool designed specifically to remove burrs and sharp edges from materials such as metal, plastic, aluminum, brass, and steel.
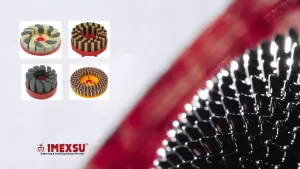
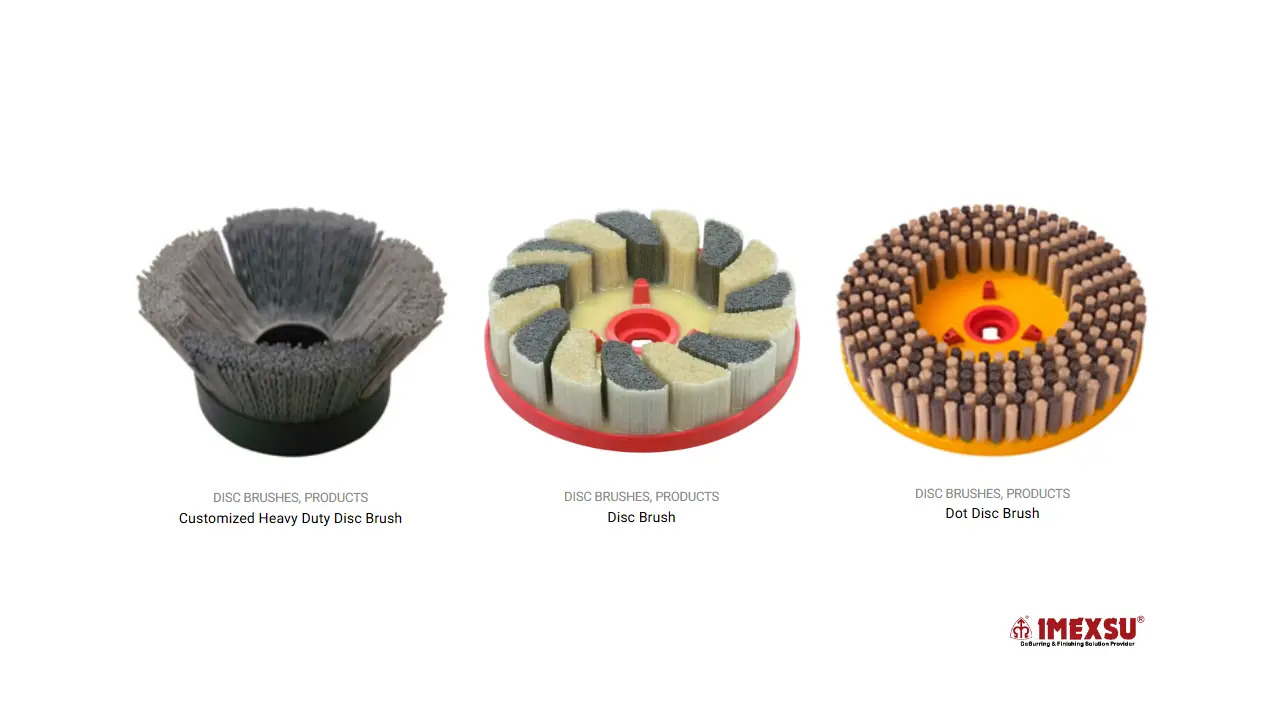
Common Types of Deburring Tools:
- Hand deburring tools (most common)
- Rotary deburring tools
- Countersink deburring tools
- Blade-style deburring tools
- Automated or machine deburring systems
For most DIY and workshop tasks, a handheld deburring tool is more than sufficient.
How to Use a Deburring Tool
Using a deburring tool is simple, even for beginners.
Step 1: Identify the Burr
Inspect the edge or hole where cutting or drilling was performed. Look for sharp or uneven edges.
Step 2: Choose the Right Blade
Select a blade suitable for your material:
Steel blade for hard metals
High-speed steel (HSS) for general use
Ceramic or coated blades for plastics
Step 3: Position the Tool
Hold the deburring tool at a slight angle against the burr. Apply gentle pressure.
Step 4: Rotate or Pull Smoothly
For edges: Pull the tool along the edge in a smooth motion
For holes: Rotate the tool around the inside edge
Avoid excessive force—let the blade do the work.
Step 5: Check the Finish
Run your finger lightly over the edge (carefully). If it feels smooth, the deburring is complete.
Industries That Use Deburring
Deburring is widely used in:
- Manufacturing and machining
- Automotive industry
- Aerospace engineering
- Electronics
- Plumbing and pipe fitting
- DIY and home workshops
Conclusion:
Deburring may seem like a small step, but it plays a huge role in safety, functionality, and product quality. Learning how to properly use a deburring tool can save time, reduce injuries, and elevate your craftsmanship.
Whether you’re smoothing a drilled hole or finishing a precision-machined part, deburring ensures your work is clean, professional, and reliable.